
I got the truck in fall of 2013 and focused on brakes and the fuel system. By the time winter rolled around I was tired of smelling like gas and oil from crawling underneath. Then spring came and I started working on cosmetic items. Summer was busy and then my Dad died in August.
 So for some reason this weekend I decided to tackle an easy job to get back into the project.
 I swung by NAPA and showed them a picture of the old fan belt. The guy looked in the system and found a cross referenced part. He then casually mentioned that my fan belt had been out of production for 15 years.
This may be the easiest repair I have done yet. A quick turn of a wrench on two bolts on the generator moved it closer toward the engine block and loosened the tension on the belt so it could be removed. Repeat in reverse and the new one was just as quickly installed.

An inspection revealed that the old belt was not on its last legs but did have some cracking and some separation and honestly might have lasted 5 more years.
I went for a test drive and retested the tension and found it to be as solid as then I first put it on.
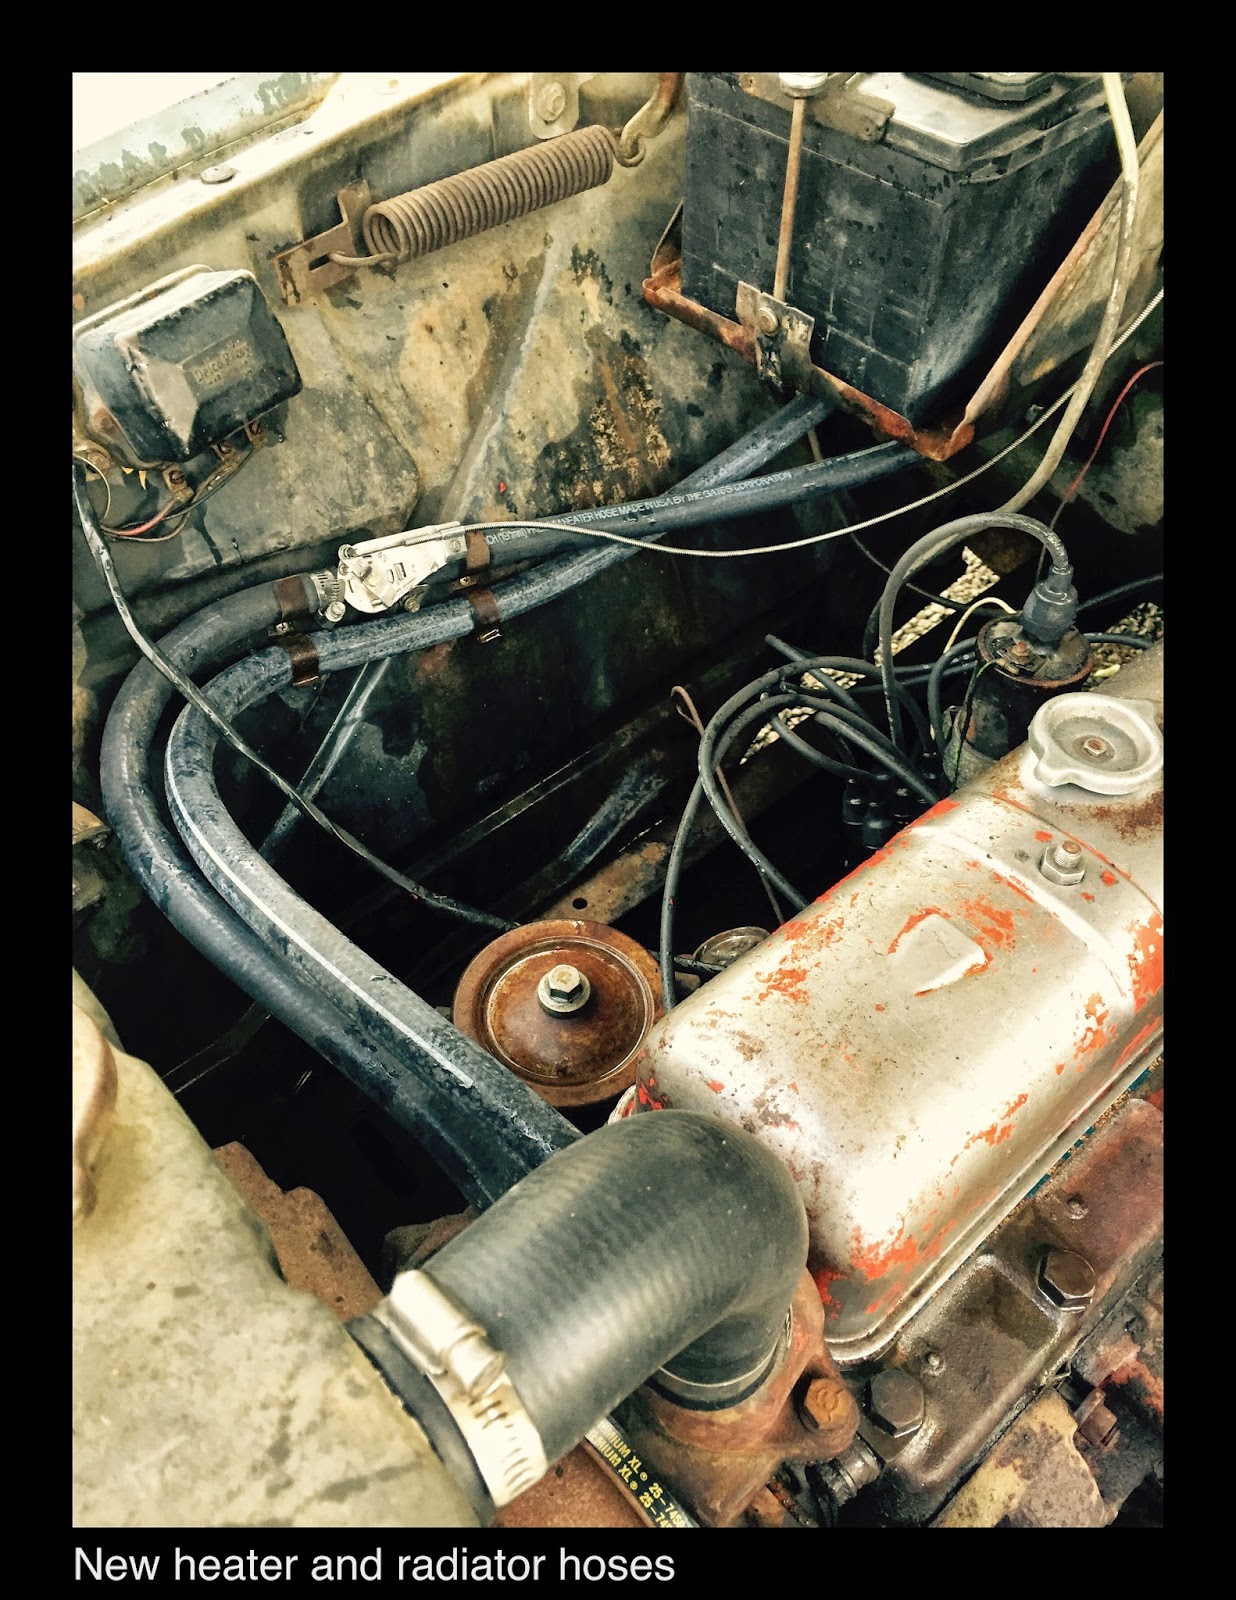 Sunday after church I decided to replace my heater hoses, and both upper and lower radiator hoses. The lower one in particular was swollen and showed lots of cracks. I started with draining the system through the two drain cocks. Again I was pleasantly surprised that the drains moved easily and did their job as expected. I drained into a 5 gallon bucket to capture most of the fluid which was green and had a bit of brown in it.
  As I loosened the hoses only the upper was easy to remove. The lower radiator and the heater hoses all required me to carefully slice the rubber so I could peel back the ends from the connections. A few modifications to the hoses for proper fit and I was pleased with the reassembly.
Last year I noticed more oil leaks than usual on the ground and discovered that the valve cover gasket was leaking. The front and back of the cover seemed to be the points leaking the most and again were nothing significant to tackle, just annoying and messy.
I had avoided this job because I was frankly afraid of what I might find under the cover. Giant chunks of debris, metal shavings, and possibly a barnacle or two could be lurking. Which would mean a fear of valve replacements and or an entire engine rebuild. Neither were attractive to me so I did the obvious head in sand routine.
 Since I was already doing the hoses I figured perhaps I could take a peek under the covers and at least replace the gasket and if it was bad under there I could park the truck and consider my options before summer was over.
 I took off the cover and found to my surprise nothing as great as my fears. I did find one tiny multidimensional "rock" of oil/debris that was no bigger than the end of a small flat blade screw driver and of course a few items from lifting the cover off. The biggest "thing" was that some of the components have a off-white color on them. If you look carefully at the photos you can see what I mean. Crazy thing is that I put everything back together and never thought about trying to wipe or scrape to she if it was paint, or a contaminated layer of oil. I assume that they are painted parts, slightly aged in color from the oil and heat.
  I cleaned and inspected the gasket area and valve cover. Using some fuel I cleaned the inside and outside of the cover to remove any other grime and oil residue.
  I am a novice at all this so perhaps I missed something and will regret it later but I saw oil and nothing more. It was not cloudy or light brown, suggesting water, nor were there any crustations or "chunks" baked on.
 The new cork gasket laid down as expected and the cover dropped on easily. After it was tightened down I noticed some oil leaking on the driver side near the front. I wiped it up and it seemed to be holding.
I might remove the cover sometime this summer to repaint but again I was not looking for a painting project and the corresponding controversy of paint colors and ability to hold up to heat over time.
The day was mostly spent using a putty knife and large flat blade screwdriver to remove as much oil/grease/dirt from the block, starter and oil pan. This happens to be the second time I have done this, so each time I am able to see a little bit more of the paint and metal of the old 270.
No comments:
Post a Comment